Hello there,
Teeto here and this is my first ever blogpost 🎉
I particularly found it difficult to deploy a Laravel application to a cloud hosting service like Heroku but thanks to some online references and the Heroku documentation, I was able to figure it out.
In this article, i will show you how to configure a database for our Application in the last four steps plus some extra nuggets in the end ☺️
Prerequisites
- Understanding of Laravel
- Understanding of Version Control
- Must have a Heroku account
- Must have installed Heroku Cli on machine.
Lets Dive into it

Step One
Commit and push the Laravel application to Github
Step Two
We are going to run the Heroku Create function in our terminal. Heroku Create [name of application].
Note, your application name has to be unique otherwise you will get a prompt of the name being taken.
By default, Heroku will generate a URL on success of your application creation. The URL can be seen in the terminal and also on the settings page on your Heroku dashboard.

Step Three
Since we already have our Heroku app, we could choose to add a remote name before setting the remote itself using the
heroku git:remote -a [app name]
command in your terminal.
To set the remote, we run the git remote add Heroku [Heroku git URL] command in the terminal.
Note the URL was the generated one on creation of the heroku application.
git:remote -a tomisinemsystem
git remote add heroku https://git.heroku.com/tomisinemsystem.git
Step Four
We have played with the terminal enough for now 😉, lets go into the root of our Laravel app to create a file called Procfile and add this line of code in the file:
web: vendor/bin/heroku-PHP-apache2 public/
By default, Heroku launches an Apache web server together with PHP to serve applications from the root directory of the project. Since our Laravel application’s document root is the public/ subdirectory, so we would need to create a Procfile that configures the correct document root as seen in the documentation
Step Five
The next step is to commit and push this change to git. To push the code we use the git push heroku mastercommand
Step Six
We now need to add our Laravel application key to the Heroku dashboard. To do this, we go to the settings page on the Heroku dashboard and then click Reveal Config Vars.
The Laravel application key can be derived by running the command below
php artisan key:generate

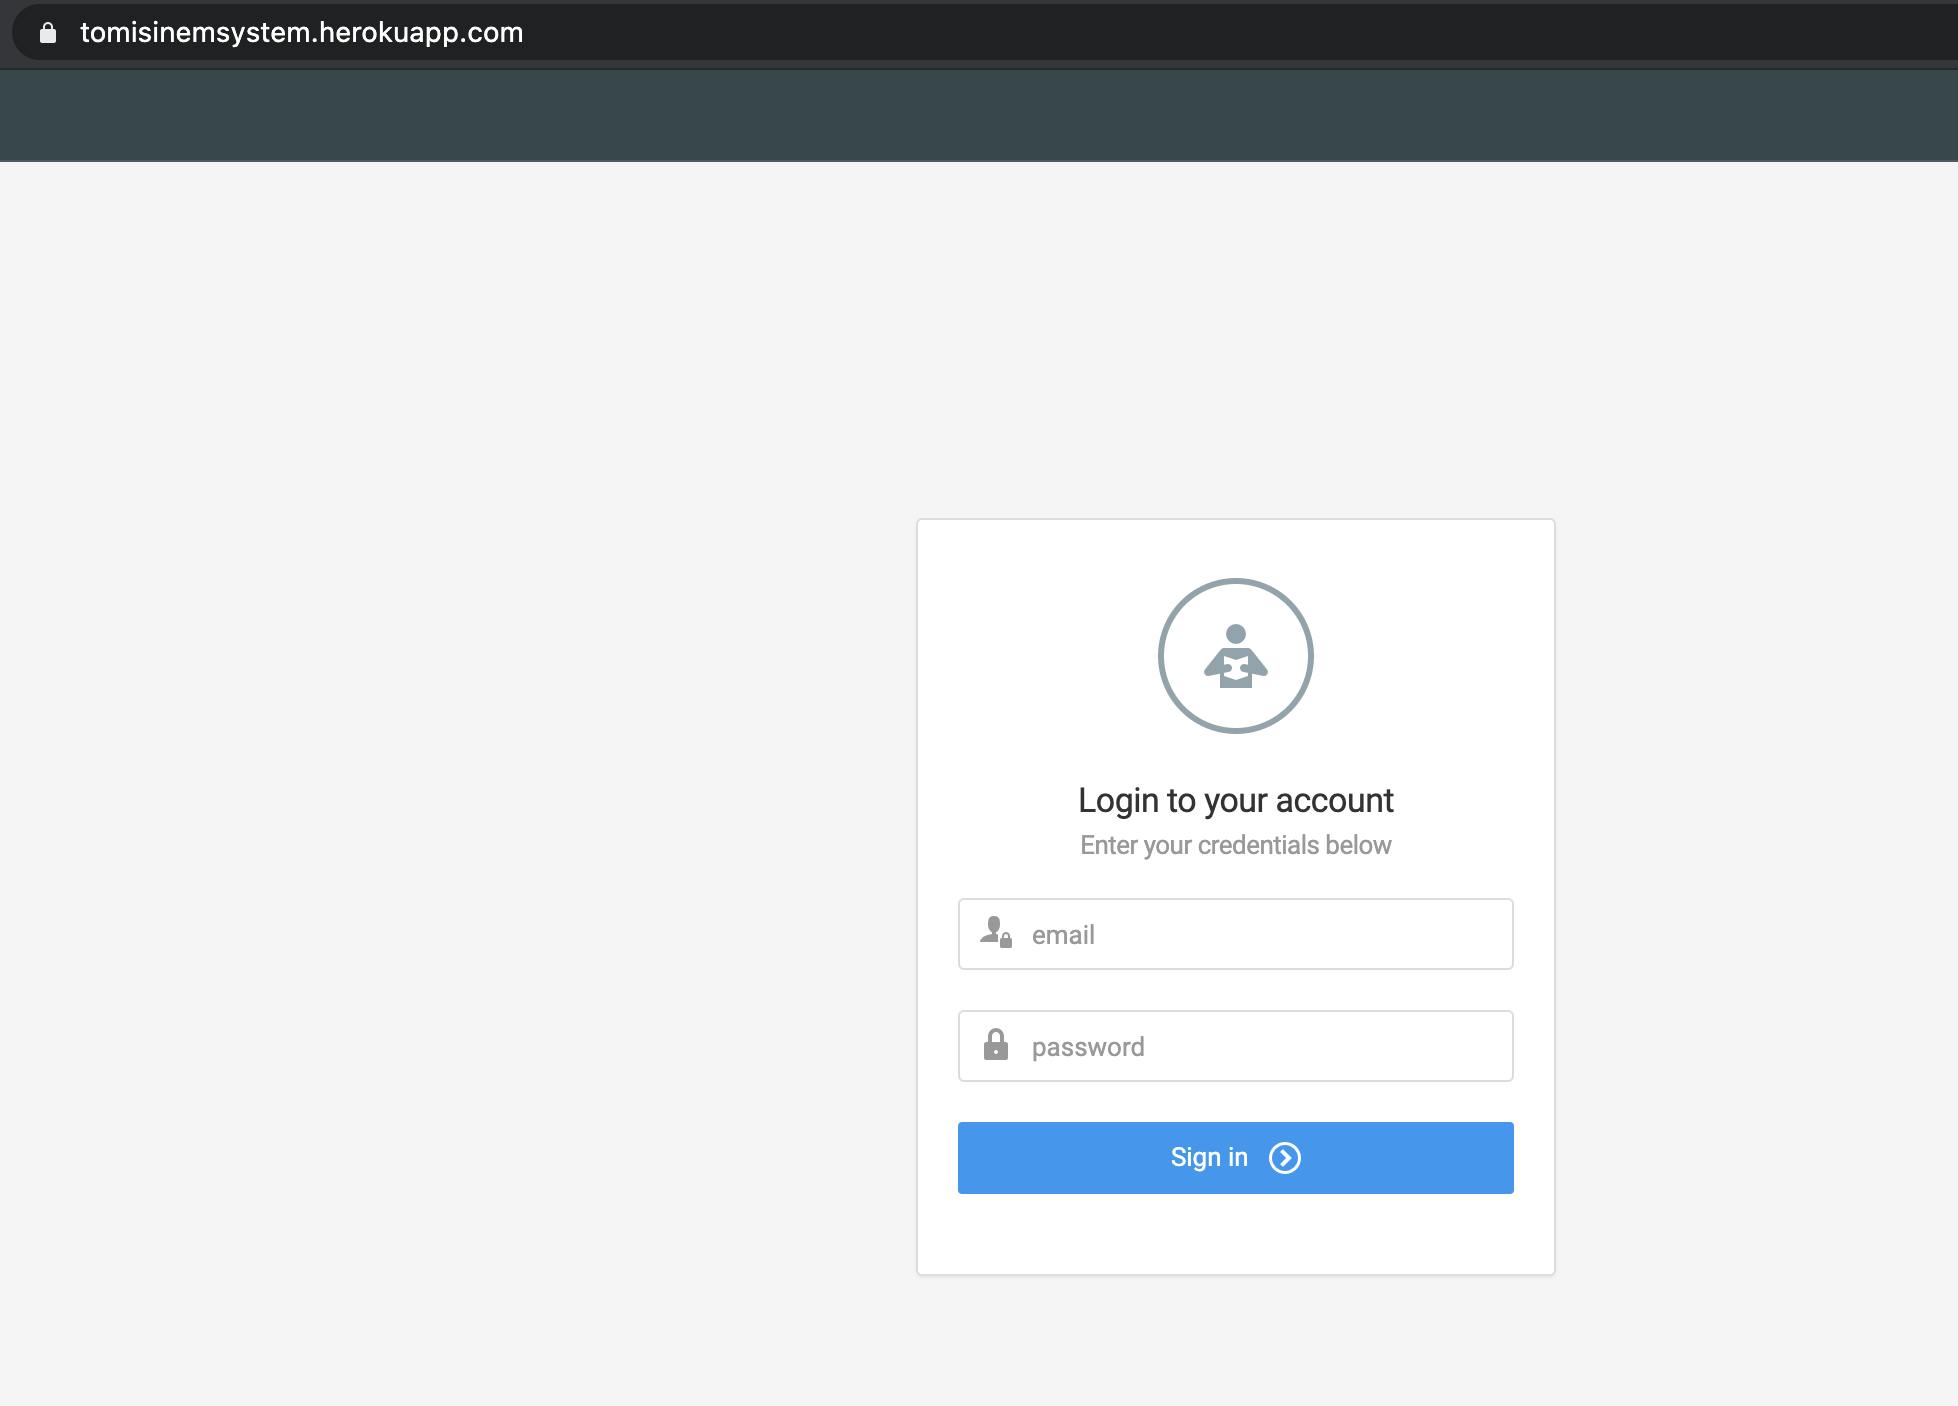
Let's test what we have done so far by clicking our generated link, in my case the link is tomisinemsystem.herokuapp.com or you can go through the Heroku dashboard, click the deploy tab and click on open app.

Result So far 🙌🏽

Almost there now !

Let's now configure our database.
Step Seven
Heroku provides some addons in the resources tab and to setup our database, we would be using clearDB MySQL.
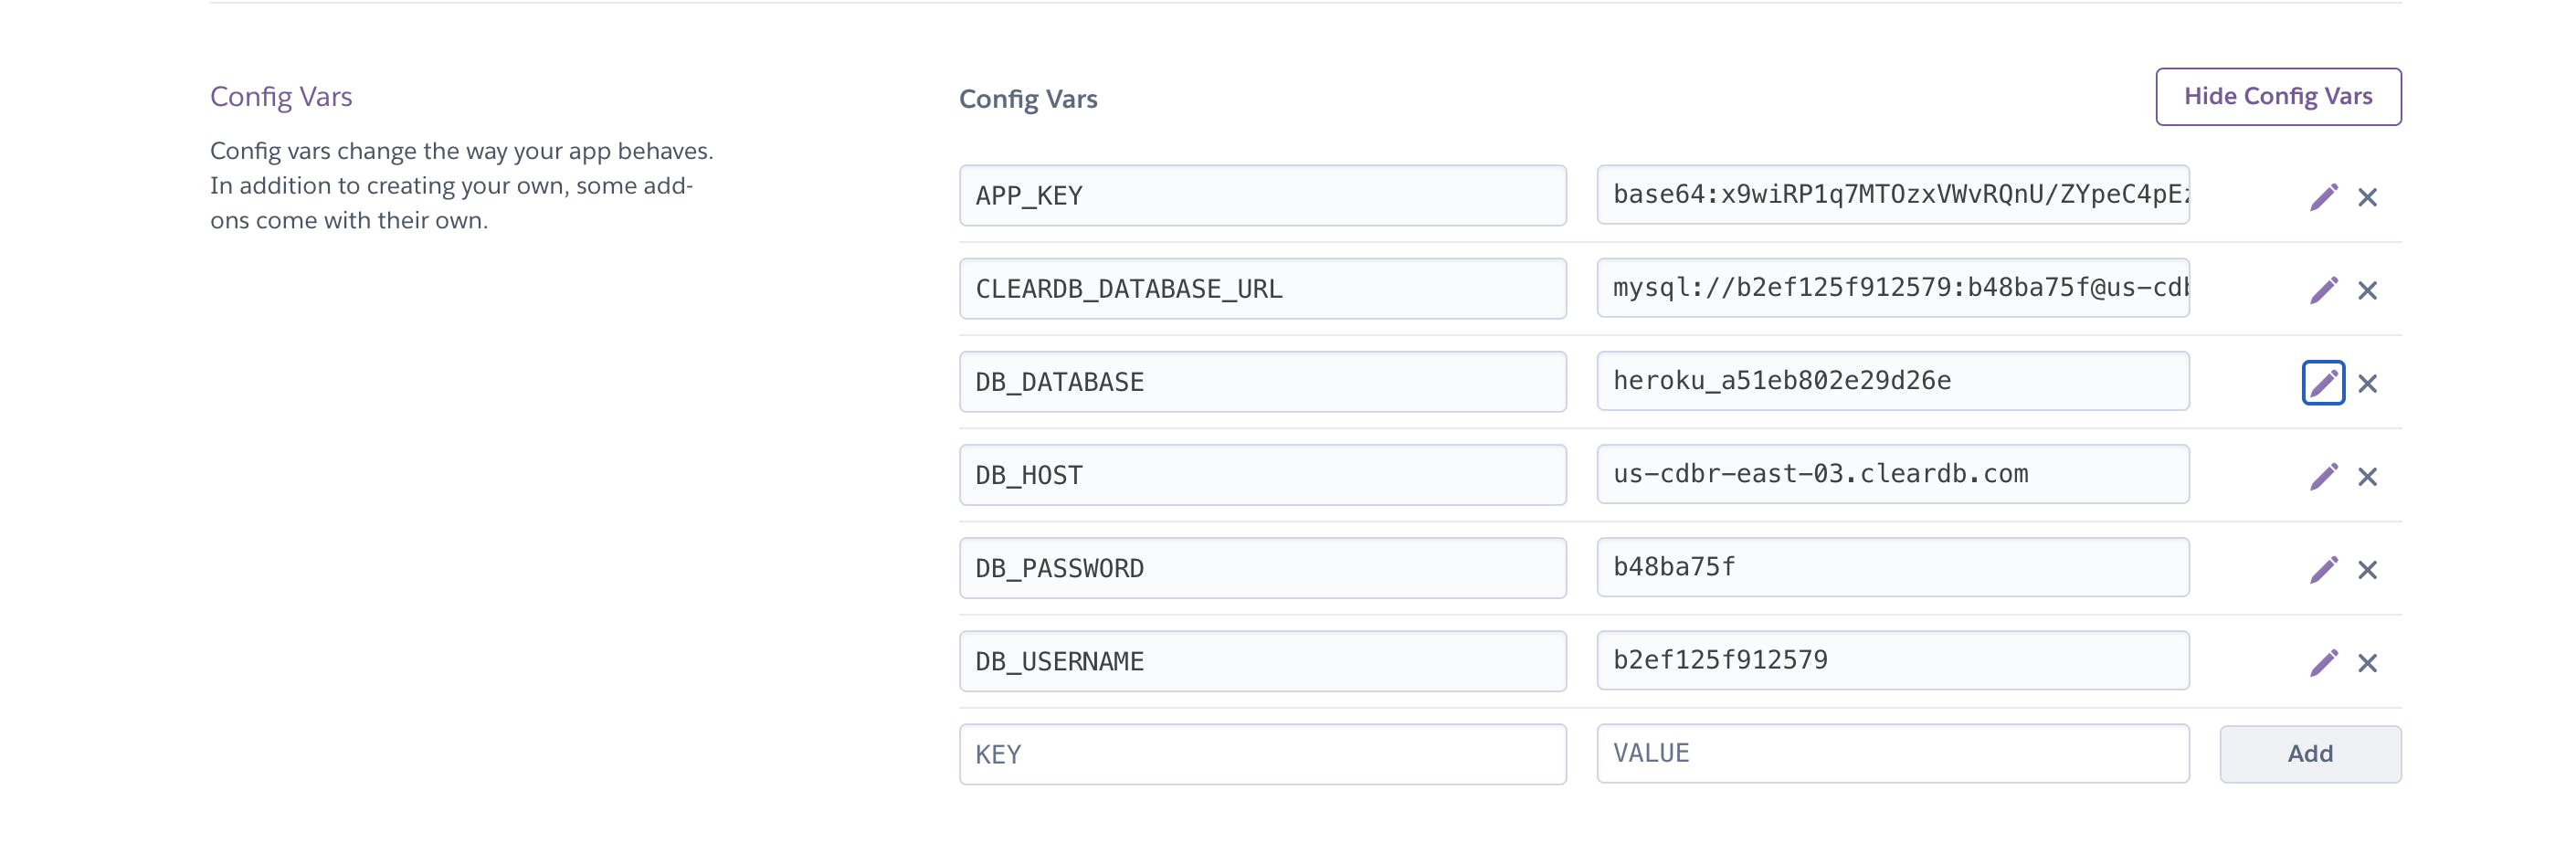
By default, Heroku will help us add the key and value pair to our Config Vars section which can be found in the settings tab.
Step Eight
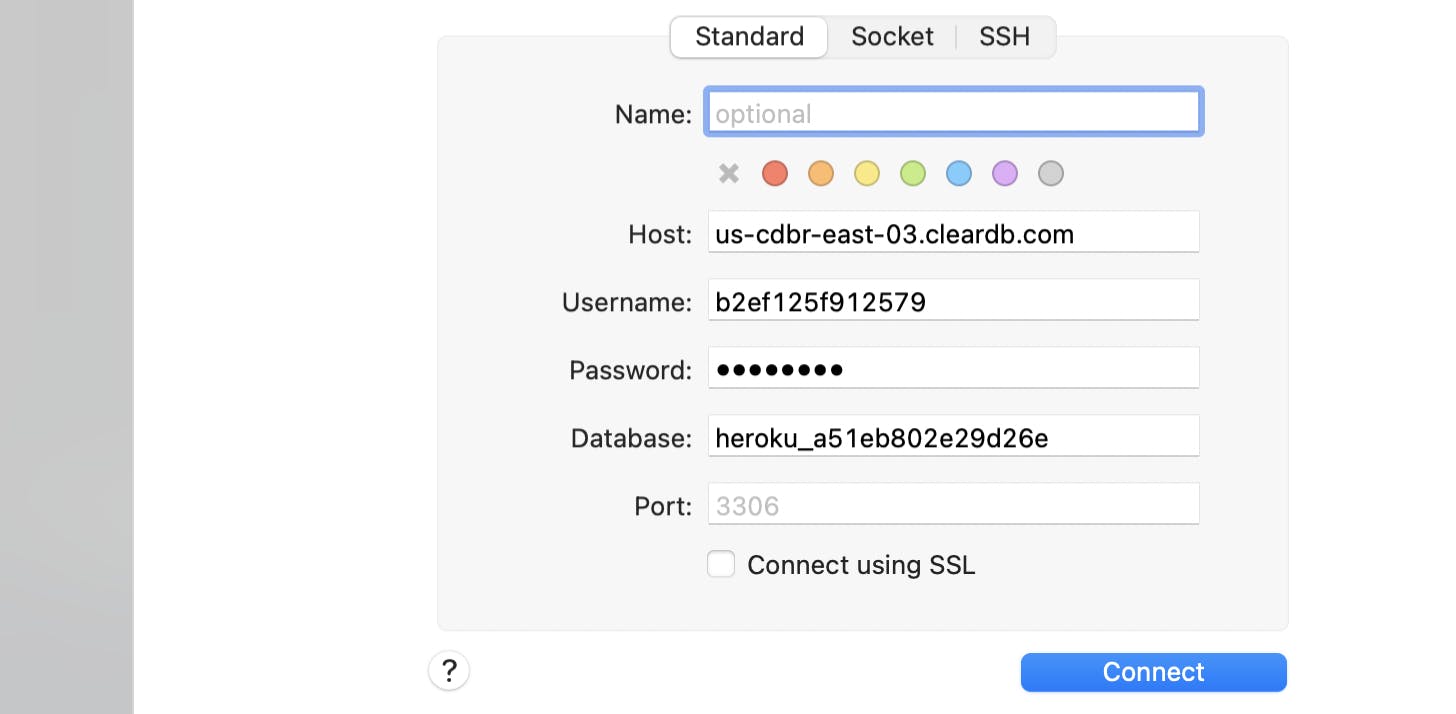
To manage our database, we would need to get any GUI tool for MySQL, and for this illustration, we would be using SequelPro.
Step Nine
Add the database keys to our Laravel app .env file and also in SequelPro so we can manage our tables.
The Key would be something like this mysql://b2ef125f912579:b48ba75f@us-cdbr-east-03.cleardb.com/heroku_a51eb802e29d26e?reconnect=true
The string between mysql:// and : is the username b2ef125f912579 , db password is the string between : and @ symbolb48ba75f, db host is the string between @ and / us-cdbr-east-03.cleardb.com and the db_database is the string between / and ? heroku_a51eb802e29d26e


Step Ten
We would need to configure our database credentials that was added to our .env file of our Laravel project so it can be accessed on Heroku. we can do this by adding it manually on the Heroku dashboard in the settings tab or by setting it from our application with the following commands.
heroku config:set DB_DATABASE={database name}
heroku config:set DB_HOST={Host value}
heroku config:set DB_USERNAME={Username}
heroku config:set DB_PASSWORD={Password}

Time to run our migration command, since we are migrating with Heroku, our command will look like this
Heroku run php artisan migrate
It’s important to note that whatever artisan command we want to use we need to add the Heroku runcommand before it.
Wisdom Tip💡
For your CI/CD development, you can deploy your app directly via GIT rather than using the Heroku CLI. All you have to do is find your way to the Heroku dashboard, click on the deploy tab, select GitHub as your deployment method and connect with the Repo URL.

If your asset is not loading, you could also add this code to your boot method in Providers\AppServiceProvider.php
     if($this->app->environment('production')) {
            \URL::forceScheme('https');
          }
Finally, we are done 😅. I hope this article helps you deploy your Laravel application to Heroku and setup a database. Feel free to leave a comment, like, and share with your friends.
I would also appreciate suggestions on what next to write about.
